Building a Travel Photography Portfolio While on the Road
We’ve shot across 25 countries with nothing but a backpack and a DSLR. Here’s the honest system we use to build, organise, and actually share a travel photography portfolio — from the road, not from a desk.
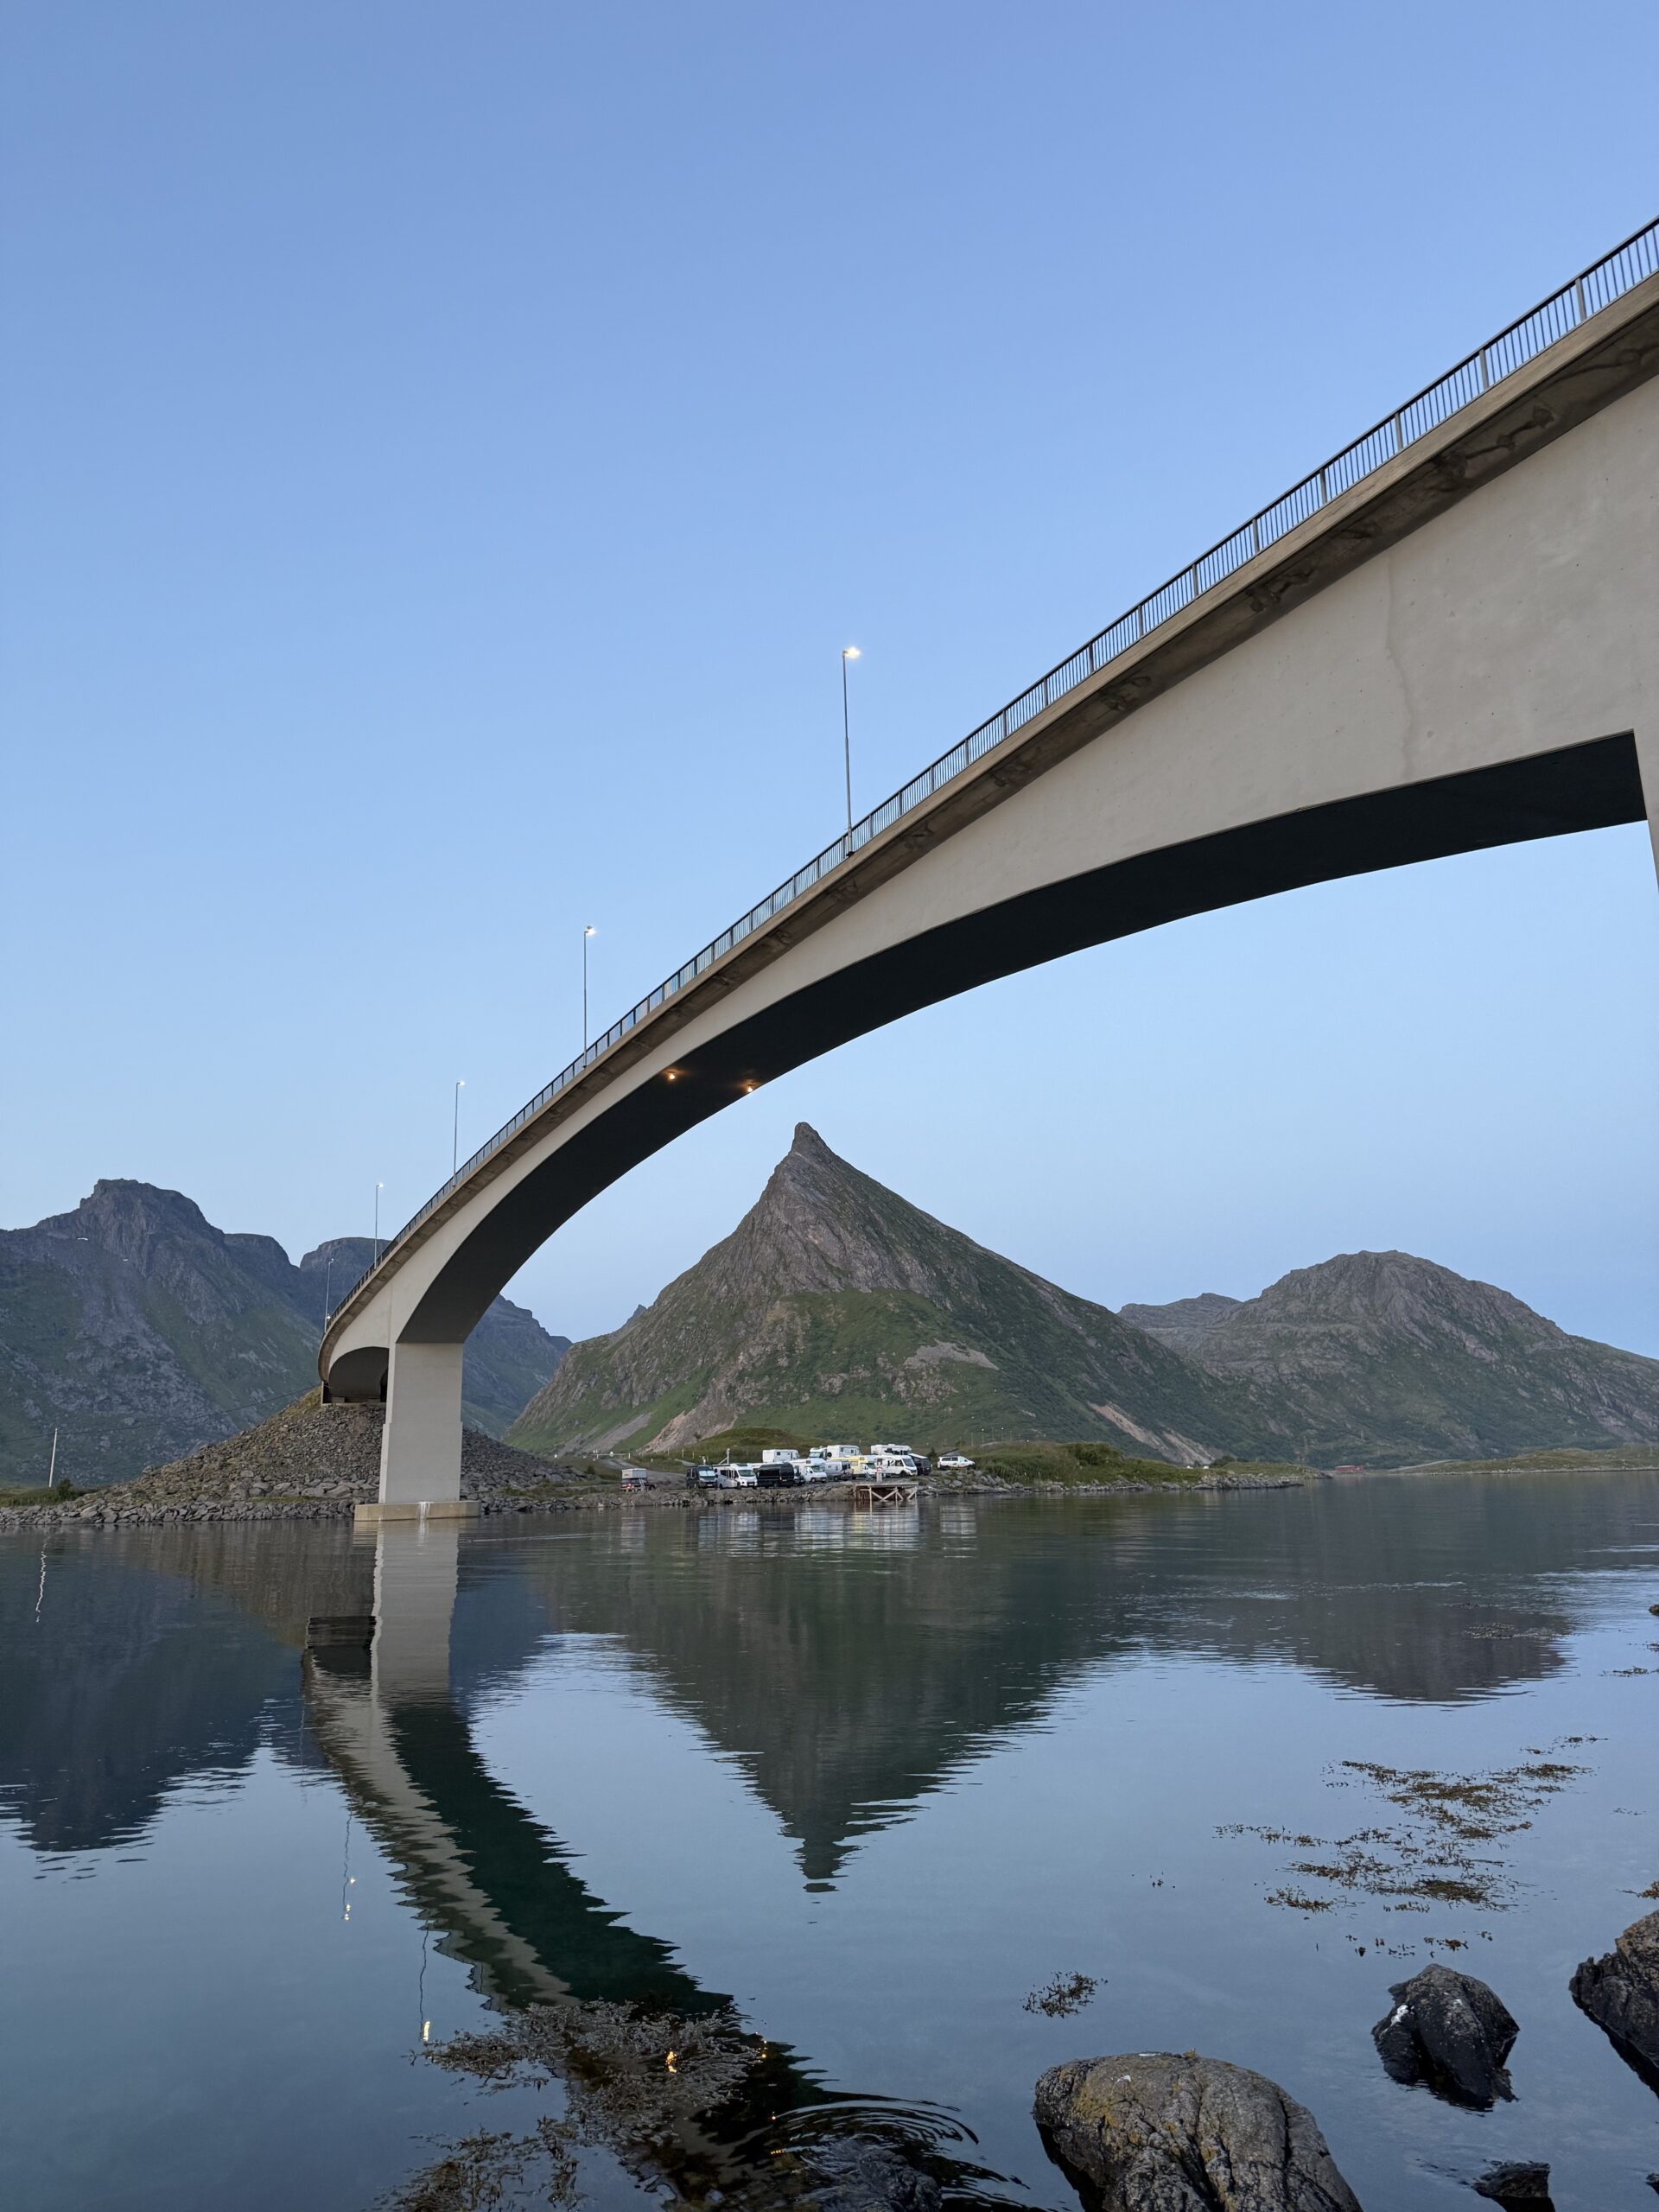
We started this travel photography portfolio question the hard way. Joona had thousands of RAW files scattered across three hard drives, two cloud services, and a folder on his phone mysteriously labelled “misc 2023.” Alla had beautiful shots from the Faroe Islands living exclusively in WhatsApp chats. Neither of us had anything we could actually send to a brand or post to a proper portfolio page within the same afternoon.
Building a travel photography portfolio on the road is a different problem from building one at home. You don’t have a fast connection, a big monitor, or a dedicated editing afternoon. What you have is a 4G signal in a Norwegian campsite, 40 minutes between ferry legs, and a laptop that is also running your navigation, your work calls, and your campfire Spotify playlist.
This is the system we eventually built — tested across Finland, Iceland, the Faroe Islands, Norway, Singapore, and 16 other countries.
You can absolutely build a solid travel photography portfolio while on the road — but you need a simple file system, a lightweight editing workflow, and one platform that acts as your permanent public-facing home. Cull and tag images the same day you shoot them, edit in 20-minute bursts, and publish consistently rather than perfectly. This guide walks you through each step.
Why travel photography portfolios fail — and what to do differently
The backlog problem
The number one reason travel photographers never finish their portfolio is the backlog. You shoot 800 frames in Iceland. You tell yourself you’ll edit them properly when you get home. Three countries later, the Iceland folder is buried under Faroe Islands, Norway, and Singapore, and the idea of tackling it feels like archaeology. We’ve been there — and the fix isn’t discipline, it’s a same-day triage habit.
The perfectionism trap
The second reason is perfectionism. You wait for the perfect edit before showing anything. That edit never happens on the road. The standard we’d recommend instead: good enough to be proud of, fast enough to stay current. Portfolio work done in transit beats perfect work that never gets published.
The file system that actually works on the road
We use the same folder structure in every country, on every device. When you have a consistent structure, you never waste time hunting for files — and you can hand a hard drive to someone else and they’ll understand it immediately.
Our folder structure
- YYYY-MM-DD_Location_ShootType — e.g.
2026-04-15_Rovaniemi_Aurora - Inside each folder:
RAW/,Selects/,Exports/Web/,Exports/Print/ - A single
_PORTFOLIO_PICKS/folder at the root level — your best 5–10 shots from each destination copied here for fast access
The same-day cull rule
- Import everything on the day you shoot — even in a van, even on a ferry
- Flag your top 10–15% immediately while the shoot is fresh in your memory
- Delete obvious failures (blurry, duplicate, badly exposed with no recovery value) the same session — they waste storage and mental energy
- Tag location, conditions, and intended use (social, blog, portfolio) so future-you isn’t guessing
Our quick-reference editing checklist for on-the-road sessions
We edit in short bursts — usually in a café, on a ferry, or waiting for a border crossing. The checklist below keeps the session productive even when you only have 20 minutes.
Fix the fundamentals before anything else. Get exposure and white balance right, and most images are 80% done. In Lightroom mobile or Snapseed, these two sliders take 30 seconds per image.
Develop one consistent base preset that matches your travel style. Ours is muted-cool Nordic greens with lifted shadows. Paste it across all images from a shoot, then adjust individually — this cuts editing time by 60%.
Horizons matter enormously in travel photography — especially for wide landscape shots. A 5-second straighten transforms an amateur shot into a portfolio one. Don’t skip it.
One tourist in the corner, a power line across your fjord shot, a rubbish bin at the edge of the frame. Spot heal these on mobile — Lightroom’s healing brush works surprisingly well even on a phone screen.
Export at full resolution for print/archive and at 2000px long edge for web. The web version is what goes in your portfolio and on social — it loads fast and is hard to misuse. Never post your RAW or print-res originals publicly.
After every editing session, move your best 2–3 images from that shoot into your root _PORTFOLIO_PICKS folder. When you need to update your portfolio page, everything worth showing is already in one place.
Travel content tips — direct from the Arctic
We send one email a month: honest gear notes, editing workflows, and what’s actually working for travel content creation on the road.
Choosing your portfolio platform — the honest comparison
There are dozens of portfolio platforms. After trying several across our travels, here’s our plain-English take on the most common options for travel photographers.
Platform comparison
- Adobe Portfolio (included with Creative Cloud): Clean, fast to set up, integrates with Lightroom. Best for photographers already in the Adobe ecosystem. Limited customisation, but good enough for most working travel photographers.
- Squarespace: The most visually polished out of the box. Good templates for editorial-style photography. Costs €15–25/month but saves significant design time. Best if your portfolio also needs a blog or inquiry form.
- Format: Built specifically for photographers. Fast loading, clean galleries, client proofing included. Around €10/month. Our pick if photography is your primary business.
- WordPress + Elementor (what we use): Total control, best for SEO, but highest setup complexity. Worth it only if you want your portfolio to also rank in search results and drive inbound work. Not the fastest option when you’re editing on a 4G connection in Norway.
- Instagram / 500px as a portfolio: Useful as a discovery layer but never as your only portfolio. Algorithms change. Your account can be restricted. Always have a destination you own.
What to actually put in your travel photography portfolio
This is where most travel photographers overthink it. The answer is simpler than it seems: show the 20–30 images that best represent the work you want to be hired for — nothing more.
Portfolio curation rules we follow
- Curate for your ideal client, not for your ego. Your favourite technically difficult shot of a blizzard in Kilpisjärvi may not be what a hotel brand in Rovaniemi needs. Ask yourself: does this image get me the work I want?
- Show range across conditions. Include golden hour, overcast, night, and mixed light — this shows you can shoot in Nordic conditions, not just perfect weather.
- Include people and scale. Landscape-only portfolios feel abstract. One image with a person in the frame gives scale, story, and emotional entry point.
- Organise by project or destination, not chronologically. “Finland”, “Norway Fjords”, “Faroe Islands” — this tells a clearer story than “Spring 2024”, “Summer 2024”.
- Update it every 3 months. A portfolio with images from 2022 tells potential clients you haven’t been active. Even one new destination per quarter keeps it current.
- Keep the hero gallery to 15–20 images maximum. Editors and brand partners spend 90 seconds on a portfolio. Don’t make them hunt for the good shots.
How to publish and promote your travel photography portfolio while moving
Publishing doesn’t require a studio setup. Here’s the workflow we use from wherever we happen to be — a cabin in Lapland, a ferry to the Faroe Islands, or a guesthouse in Tallinn.
The road publishing workflow
- Write the image captions on your phone in the Notes app — they’re short, you can do them on a bus. Location, camera, one sentence of context.
- Upload in batches when you have reliable WiFi — ferry terminals, cafés, guesthouses. Don’t try to upload RAW files on mobile data.
- Share one portfolio image per week to Instagram with your portfolio URL in bio — consistent, low-effort distribution that actually drives traffic.
- Email 3–5 relevant travel brands per month — a simple message with a portfolio link and one destination you’ve just shot. Volume matters more than the perfect pitch.
- Cross-post to 500px or Unsplash — not for money, but for discovery. Brands often find photographers through these platforms and then hire for custom work.
- Keep a “portfolio update” task in your notes app — every time you shoot something great, add a note. Monthly, batch-process those notes into actual portfolio updates.
Mistakes we made (so you don’t have to)
- Waiting to edit until we got home. We once returned from a 3-week Norway-to-Faroe Islands trip with 14,000 unedited frames. It took six weeks to work through them. Same-day culling fixes this permanently.
- Using only social media as our portfolio. An Instagram algorithm change in 2024 cut our reach by 40% overnight. Your portfolio lives on a domain you own — always.
- Showing too many images. Our first portfolio had 120 images. Nobody reached the end. We cut it to 22 and immediately got better feedback and more inquiries.
- Not labelling our files consistently. Trying to find a specific Iceland shot two years later across three hard drives with inconsistent naming conventions is a special kind of pain. The folder structure above solved this.
- Shooting in JPEG to save space. On a long trip, the temptation to switch to JPEG is real. Don’t. RAW files give you recovery room that you will need — especially in the extreme light conditions of Nordic shooting (aurora, midnight sun, deep winter).
- Waiting for the “right” portfolio before reaching out to brands. A portfolio with 15 strong images and a clear niche gets more responses than a 100-image gallery that tries to be everything to everyone.
Frequently asked questions
What is the best platform for a travel photography portfolio in 2026?
For most working travel photographers, Format or Adobe Portfolio (if you’re already in Creative Cloud) offer the best balance of quality and ease of setup. If you want your portfolio to also rank in search results and drive inbound work, WordPress with Elementor is worth the extra setup time — it’s what we use for hungrytravelfamily.com.
How many images should be in a travel photography portfolio?
Aim for 15–25 images in your main hero gallery, with optional deeper galleries by destination or project. Fewer, stronger images always outperform large unfocused collections. Editors and brand partners spend less than two minutes on a portfolio — make every image count.
Can I build a portfolio using only my phone?
Yes, up to a point. Modern phones — especially the iPhone 15 Pro and Pixel 9 Pro — produce images strong enough for editorial work and social media licensing. For print or high-end campaign work, you’ll still need a camera with a larger sensor and RAW output. Our advice: use your phone as a complement, not a replacement, until you’re clear on what kind of work you want.
How do I back up my travel photos on the road?
The 3-2-1 rule: three copies, two different media, one off-site. In practice on the road: memory card (original), portable SSD (immediate copy), cloud backup (Backblaze or Google Photos on WiFi). Never erase a memory card until you’ve confirmed the SSD copy is intact and the cloud upload is complete.
How do I find clients for travel photography while still on the road?
Start with your immediate context: tourism boards in the countries you’re visiting, boutique hotels and guesthouses you stay in, and outdoor brands relevant to your destinations. A cold email with a portfolio link and 3 images relevant to their specific location converts much better than a generic pitch. We’ve landed 4 paid collaborations this way — all from the road, none from a formal studio setup.
Do I need a separate website for my travel photography portfolio?
You need a URL you own. Whether that’s a dedicated photography domain or a portfolio section of your travel blog is less important than having something that isn’t controlled by a social platform’s algorithm. A photography portfolio section on your existing travel blog — with its own clean URL — works well and benefits from the domain authority you’ve already built.
A final word from Rovaniemi: imperfect beats invisible
We’ve watched a lot of talented travel photographers wait for the right moment to launch their portfolio — the moment when the edits are perfect, the website is polished, and the images represent exactly the work they want to do. That moment rarely comes on the road, because the road keeps moving.
What actually works is the unglamorous version: a consistent folder structure you can stick to on a 4G connection, a 20-minute editing habit that you protect even on travel days, and a portfolio page that you update every few months rather than every few years.
We built the hungrytravelfamily.com photography portfolio from a van in Norway, a cabin outside Rovaniemi, and a ferry to the Faroe Islands. It’s not the most polished portfolio on the internet. But it exists, it’s current, and it’s led to real paid work — which is more than can be said for the “perfect” version that never got published.
Start with what you have. Ship it. Improve it from the next campsite.
Keep your crypto offline, not in an exchange app
Any crypto we hold lives on a Trezor hardware wallet — a small offline device in a drawer in Rovaniemi, not on a phone that crosses borders every month. If you’ve been meaning to sort that out, this is the link we’d send a friend.
Joona & Alla
A Finnish-Ukrainian couple living in Rovaniemi, Finland. Joona is a marketing professional in Lapland tourism; Alla is an AI Engineer. Together we’ve visited 25 countries and share honest, locally-grounded travel writing from our home in the Arctic.
Read our full story →