Camera Settings for Northern Lights in Lapland: No-BS Guide for 2026
We have photographed the northern lights from Lapland more times than we can count. This guide cuts through the noise — the exact camera settings we use, how to focus in total darkness, what the cold does to your gear, and how to compose a shot that actually looks like you were there.
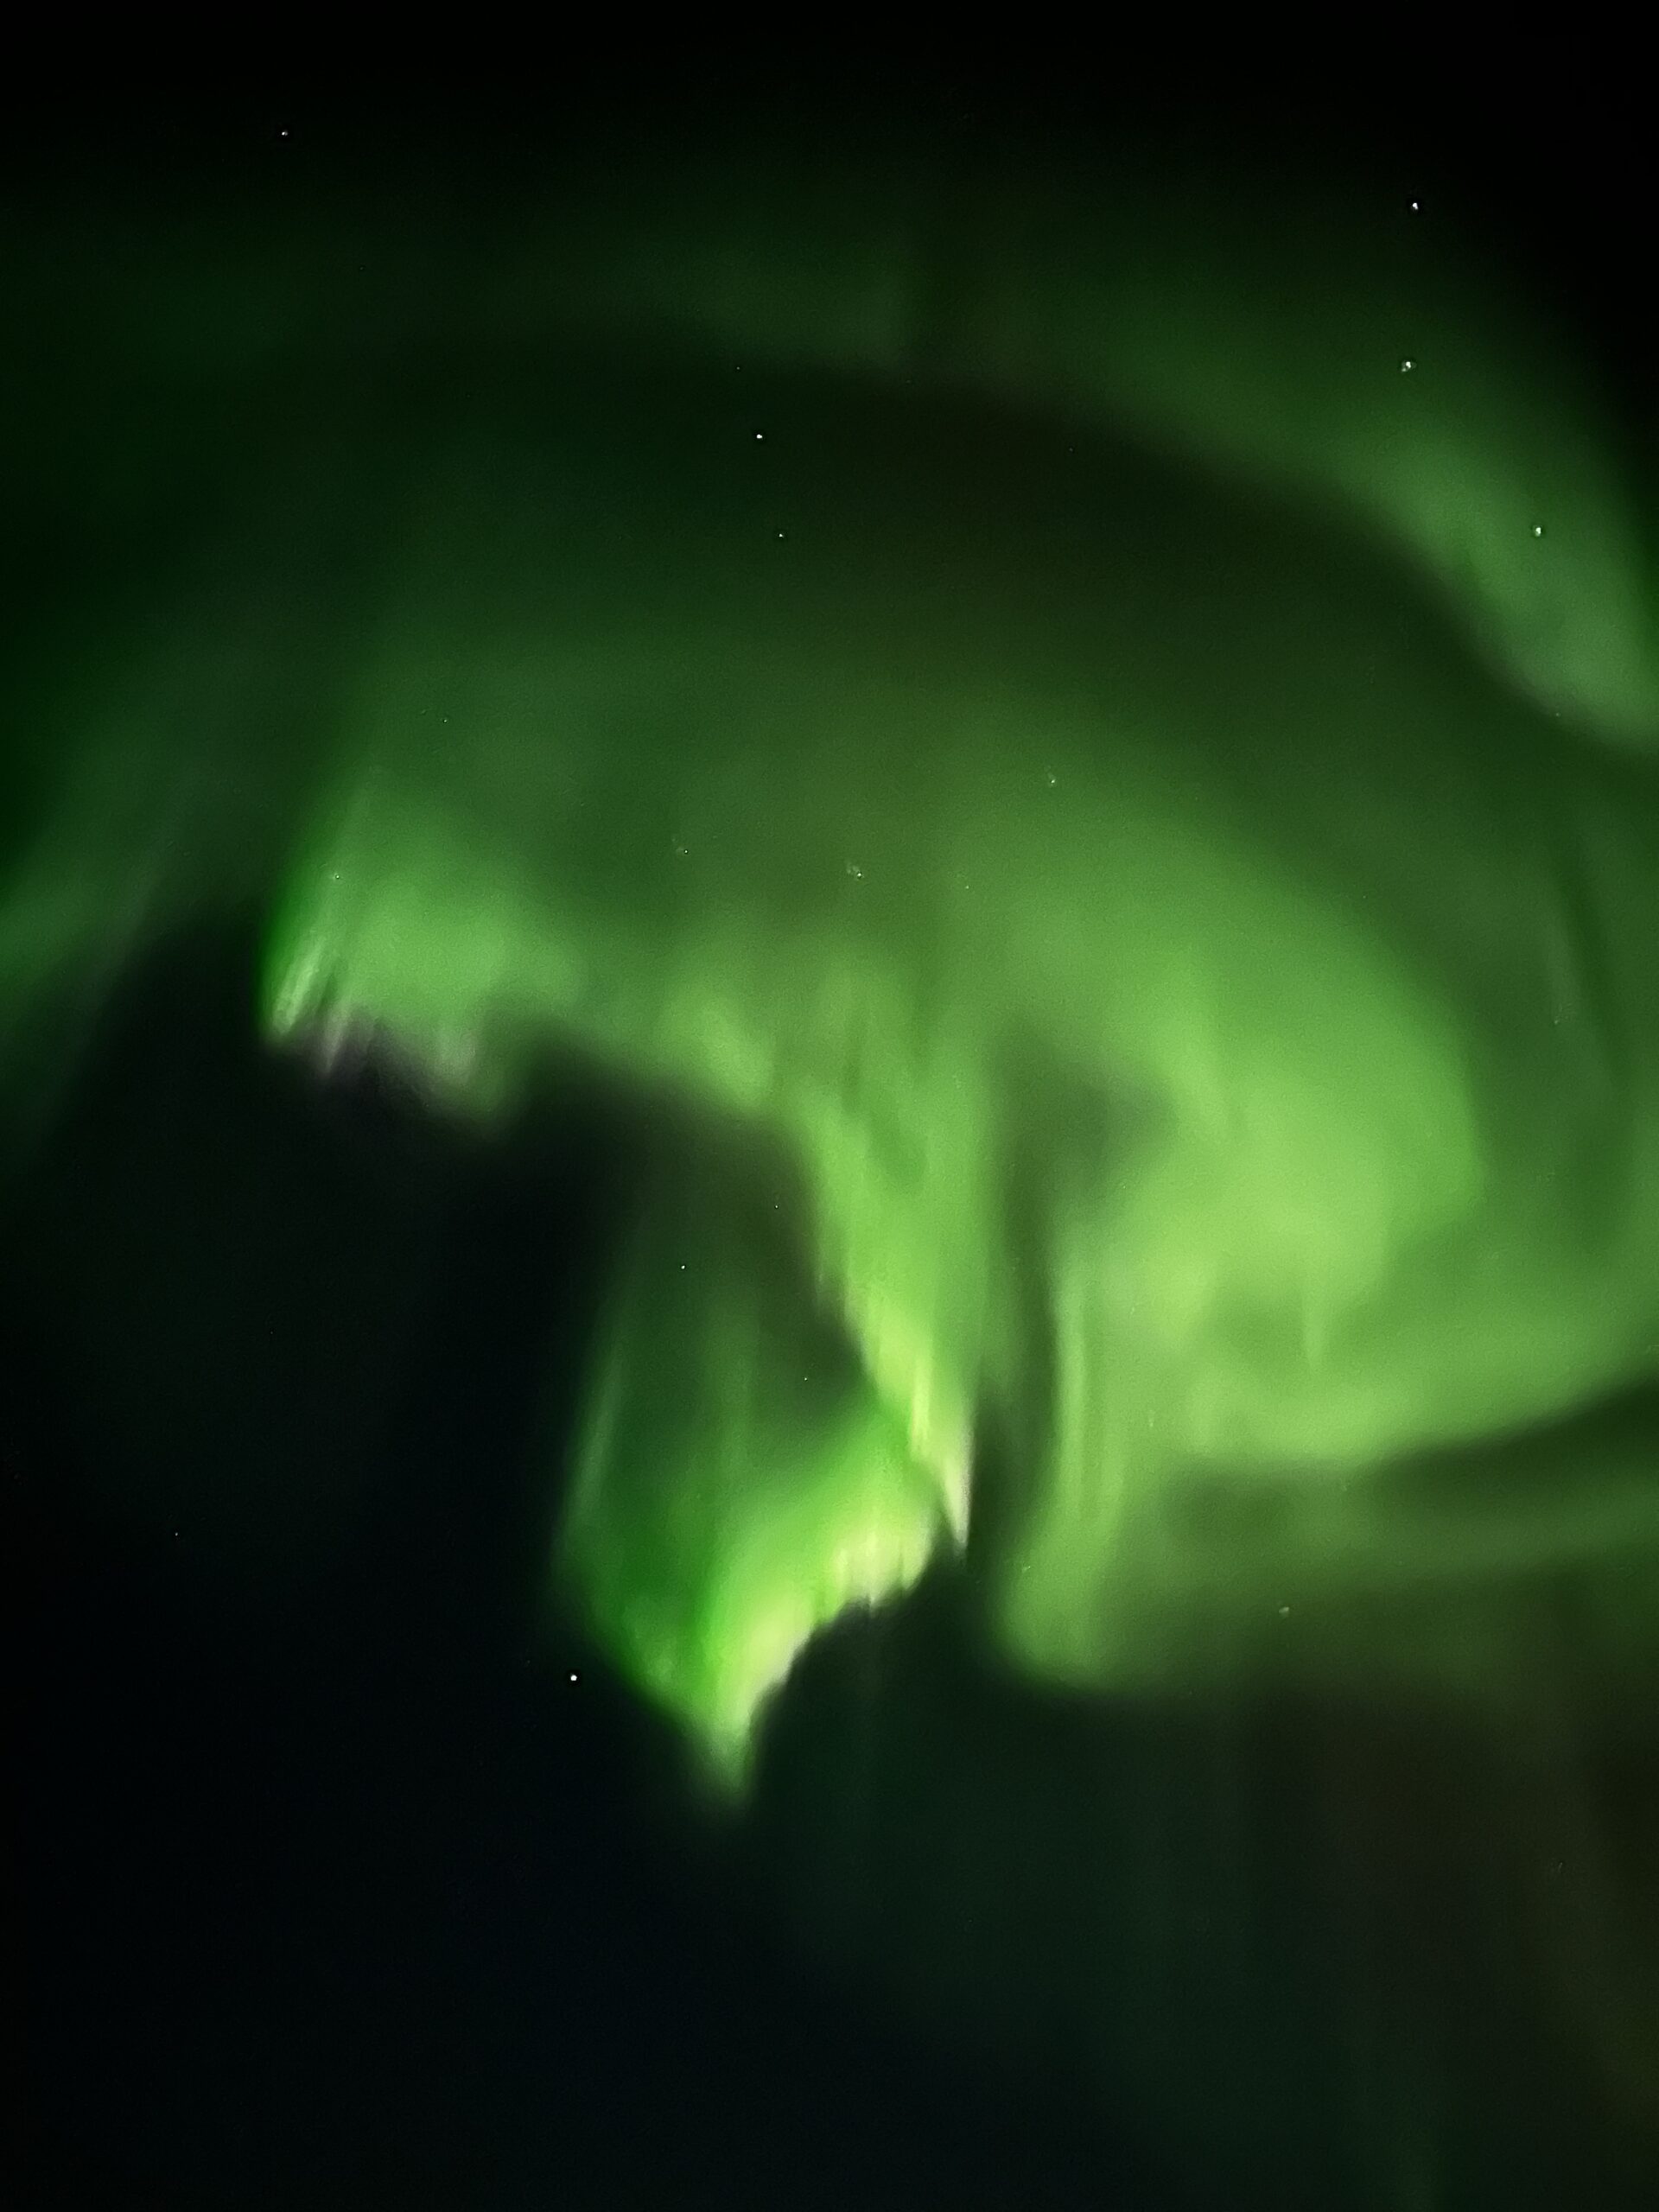
This guide is built from what we have learned living in Rovaniemi and writing about Lapland travel for years. Every detail below is from first-hand experience or from the live StayLapland product pages — never invented.
For most people, a wide-angle lens at f/2.8 or wider, ISO 1600–3200, and a shutter speed of 5–15 seconds is the starting point. Set your camera to manual mode, focus on a distant star using live view, and shoot in RAW. If you want to skip the technical anxiety and just be present in the Arctic night, the Northern Lights Hunting Bus Tour5% off · HUNGRYTRAVELFAMILY5 includes professional DSLR photos delivered to you — so you can simply enjoy the moment. For a more intimate, photography-focused evening, the Small Group Northern Lights Hunting Tour5% off · HUNGRYTRAVELFAMILY5 keeps groups to just 2–8 people with a guide who will help you shoot.
- Why Aurora Photography Is Different
- The Camera Gear You Actually Need
- The Essential Manual Settings Explained
- How to Focus in Total Darkness
- Dealing With Cold: Batteries, Condensation, Gloves
- Composing a Better Northern Lights Shot
- Processing Your Aurora Photos in Lightroom
- Frequently Asked Questions
- Final Word From Rovaniemi
Why Aurora Photography Is Different From Any Other Kind
The northern lights are not static. They breathe, ripple, and sometimes explode across the sky in seconds. That unpredictability is exactly what makes photographing them so addictive — and so unforgiving if your settings are wrong when they arrive.
Unlike landscape photography in daylight, aurora shooting involves total darkness, extreme cold, fast-moving light sources, and a subject that can go from nothing to a full-sky display in under a minute. Your camera needs to be in manual mode before the lights appear, because there is no time to fumble with settings when the sky comes alive.
We have shot auroras from the forests outside Rovaniemi dozens of times. The biggest lesson: preparation beats luck. The photographers who come away with stunning images are the ones who arrived with their settings dialled in, their tripod stable, and their focus locked before the aurora started. Not the ones who were the fastest to pull out their phones.
The Camera Gear You Actually Need
You do not need the most expensive kit on the market. What you need is a camera that shoots in RAW, a lens fast enough to let in light, and a tripod that will not wobble in the wind.
Camera body: Any modern mirrorless or DSLR with manual mode and ISO performance above 3200 is sufficient. Sony A7-series, Nikon Z-series, Canon R-series, and older DSLRs like the Canon 5D Mark III or Nikon D750 all work well. The newest flagship models are more forgiving at high ISO, but a ten-year-old crop sensor will still produce beautiful aurora photos if you know the settings.
Lens: A wide-angle lens between 14mm and 24mm (full-frame equivalent) with a maximum aperture of f/2.8 or wider. Prime lenses at f/1.8 or f/2 give you even more light-gathering ability and are worth considering. Kit zoom lenses that open only to f/4 or f/5.6 will struggle — you will need to push ISO so high that the noise becomes distracting.
Tripod: Non-negotiable. Any shutter speed longer than half a second will produce blur on a handheld camera. A solid tripod with a ballhead is worth the inconvenience of carrying it. Travel tripods that fold small are perfectly adequate for aurora work — you will not be hiking long distances with it.
Remote shutter release: Touching your camera during a long exposure causes vibration. A basic wireless or wired remote costs very little and makes a real difference. Alternatively, set your camera’s self-timer to a 2-second delay.
Spare batteries: Cold temperatures drain batteries dramatically. At –15 to –25 °C, a fully charged battery can die in 30–40 minutes of active shooting. Carry at least two spares inside your inner layer, close to your body, to keep them warm.
The Essential Manual Settings Explained
There is no single “correct” aurora setting. The right combination depends on how bright the display is, how much ambient light exists from snow or moon, and how fast the aurora is moving. Here is the framework we use in Lapland:
Mode: Full manual (M). Aperture Priority and Auto ISO will fight you in the dark.
Aperture: Open as wide as your lens allows. f/2.8 is a common starting point. f/1.8 or f/2 if you have it. Close down only if you are seeing significant lens aberrations in the corners, which some wide primes produce wide open.
Shutter speed: Start at 8 seconds. If the aurora is moving slowly — long, static bands — you can go up to 15–20 seconds for a brighter, cleaner image. If it is dancing fast — curtains flickering and twisting — drop to 3–5 seconds to freeze the movement rather than blurring it into a smear. Slower shutter = more light but more motion blur in active displays.
ISO: Start at 1600. Move to 3200 if the aurora is faint. For a very strong display, you may find 800 or even 400 is enough and gives you cleaner, less noisy files. Modern cameras — particularly Sony A7 IV, Nikon Z6 III, Canon R6 II — hold excellent quality up to ISO 6400 and even 12800 if needed.
White balance: Set manually to 3800–4200 Kelvin for the most natural-looking aurora colours. Auto white balance works in daylight but will produce inconsistent colours across a series of night shots. A setting of 3800K keeps the sky dark blue-black and preserves the green and pink tones of the aurora accurately. If shooting RAW (you should be), you can adjust this in post without any quality loss — but setting it manually keeps your preview accurate on the back of the camera.
File format: Always RAW. Never JPEG only. Aurora light is subtle and dynamic, and RAW files give you enormous room to bring up shadows, reduce noise, and correct colour in editing. JPEG files bake in the processing decisions and leave you far less flexibility.
Image stabilisation: Turn it off when using a tripod. IBIS and lens stabilisation systems can hunt for movement when there is none, and introduce blur in long exposures on a stable platform.
How to Focus in Total Darkness
This is where most beginners lose the shot. Autofocus fails completely in near-total darkness — the camera cannot find an edge to lock onto. You need to focus manually, and you need to do it before you are standing in a dark forest with numb fingers.
The live view method: Switch your camera to live view, increase the exposure simulation or live view boost if available, zoom in digitally to 5–10x on a bright star or distant light source, and turn your focus ring until that point is as small and sharp as possible. Then tape down or lock your focus ring. Do not touch it for the rest of the night.
The infinity mark method: Most wide-angle primes have a hard infinity stop or a marked infinity position. For many lenses at f/2.8 or narrower, setting focus just before the infinity mark produces sharp results for distant subjects including stars and aurora. This is a useful backup if you lose your focus in the dark, but do not rely on it blindly — some lenses focus past infinity, and the mark is not always accurate wide open.
The hyperfocal method: At f/2.8 and 16mm, your hyperfocal distance is roughly 6 metres. Focus on something 6 metres in front of you (a tree, a rock), and everything from 3 metres to infinity will be acceptably sharp. This method is particularly useful when you also want foreground elements — snow, trees, a frozen lake — to be in focus alongside the sky.
Tip from experience: set your focus at home or in your hotel room while there is still enough light to see what you are doing. Walk outside already focused. Checking focus in live view at –20 °C with gloves on is much harder than it sounds.
Dealing With Cold: Batteries, Condensation, and Shooting With Gloves
The technical challenges of aurora photography in Lapland are not just about your camera settings. The environment actively works against you.
Battery management: Keep spare batteries in your inner layers, not in a camera bag. Body warmth is genuinely effective. When a battery dies, swap immediately and put the depleted one somewhere warm — at Lapland temperatures, a “dead” battery can partially recover if warmed for 10–15 minutes and give you another burst of shooting time.
Condensation: The single most damaging thing you can do to your gear in Lapland is bring it from the cold directly into a warm building. The temperature difference causes moisture to condense heavily on and inside the lens and sensor. Always seal your camera in a zip-lock bag before going indoors. Leave it sealed until it has fully warmed to room temperature — typically 30–60 minutes. Only then open the bag. Skip this step and you risk fogging your lens element, and in serious cases condensation inside the body that can take days to fully evaporate.
Gloves: You need warm gloves, but standard thick winter mitts make it almost impossible to operate camera controls. The solution most cold-weather photographers use: a thin liner glove (merino wool or thin fleece) under a removable mitten shell. You can pull off the outer mitt for 30 seconds to adjust settings, then put it back on. Fingerless gloves with a mitten flap — sold under names like “shooter’s gloves” — are another popular option. At –20 °C, working with bare hands for more than a few minutes risks frostnite.
Lens frost: On very cold, humid nights, frost can form on the front element of your lens. A lens hood helps slow this, and some photographers use a chemical hand warmer taped loosely around the lens barrel to keep the glass just above the frost point. Do not let the warmer touch the glass directly.
Composing a Better Northern Lights Shot
The most common aurora photo is: green smear in the middle of an empty black sky. It is technically correct and completely forgettable.
Strong aurora images have a foreground element that anchors the composition. Snow-covered trees, a frozen lake reflecting the light, a log cabin with a warm glow, a lone figure silhouetted against the sky. The aurora becomes part of a story rather than the entire subject.
In Rovaniemi and the surrounding wilderness, the best natural foregrounds include the boreal spruce forests standing snow-heavy in winter, the meandering bends of the Kemijoki and Ounasjoki rivers, and the open fells to the north where the horizon is wide and dark. The guides on aurora tours from StayLapland know these locations well — part of the value of a guided hunt is being taken to spots where the composition already works.
Practical composition tips: use the rule of thirds and place the horizon in the lower third, giving sky the dominant space. Include a strong vertical element — a single tall tree, a lamp post, a person — to give the image scale. If the aurora is high overhead, try pointing your camera almost straight up with a foreground element at the bottom edge of the frame. And if there is a frozen lake or river, absolutely position yourself to capture the reflection.
Processing Your Aurora Photos in Lightroom (or Any RAW Editor)
Shooting in RAW means the real work begins after you come inside. Here is the workflow we use for aurora images from Rovaniemi.
White balance: If you shot in RAW, adjust white balance first. A cooler setting (lower Kelvin) makes the sky look darker and more dramatic. Most aurora images look best somewhere between 3200K and 4500K. Personal preference matters here — there is no objectively correct value.
Exposure and shadows: Lift the shadows slider to reveal detail in the snow and trees in your foreground. Reduce highlights slightly if there are bright patches from moon or artificial light. Be careful not to push shadows too far — extreme shadow recovery amplifies colour noise.
Noise reduction: At ISO 1600–3200, you will have visible noise in the dark areas of the sky. Lightroom’s AI-powered Denoise (available since 2023) is remarkably effective at cleaning this up while preserving star and aurora sharpness. Apply it at 40–60% for a natural result. Older luminance and colour noise tools also work well — luminance at 30–50, colour noise at 25.
Clarity and texture: A small negative clarity value (around –10 to –20) softens the overall image slightly and gives aurora shots a more ethereal quality. Conversely, adding texture (+15 to +25) can bring out detail in snow and tree bark in the foreground without affecting the smooth sky.
Colours: In the HSL panel, the green channel controls the dominant aurora colour. You can shift hue slightly towards teal or yellow depending on your preference. Boosting green saturation 10–20% makes quiet auroras more vivid without looking fake. The purple/magenta channel controls the upper-atmosphere corona colours that appear in very strong displays.
If you join a guided aurora tour with StayLapland — such as the Northern Lights Hunting Bus Tour5% off · HUNGRYTRAVELFAMILY5 — the professional DSLR photos that come with the experience are fully edited before delivery — useful if you want a reference point for how an experienced photographer handles aurora post-processing.
Frequently Asked Questions
Can I photograph the northern lights with a smartphone?
Yes, but with limitations. Modern flagship phones — iPhone 15 Pro, Samsung Galaxy S24 Ultra, Google Pixel 9 Pro — have dedicated night modes that can capture faint aurora. A mini tripod or phone clamp helps significantly. For strong displays the results can be genuinely impressive. For subtle auroras or fast-moving displays, a dedicated camera still produces better results.
What shutter speed should I use for a fast, dancing aurora?
For rapidly moving curtains and fast corona displays, use 2–5 seconds. Longer exposures will blend the movement into a flat glow and lose the structure of the display. Accept a slightly noisier image in exchange for sharpness in the aurora’s shape.
Do I need a full-frame camera?
No. APS-C sensors at ISO 3200 produce very usable aurora images. Full-frame sensors have an advantage in high-ISO noise performance, but a well-processed crop sensor image from a Sony A6600, Fujifilm X-T5, or Nikon Z30 is entirely print-worthy.
Is a 50mm lens suitable for aurora photography?
A 50mm lens (full-frame) gives a fairly narrow field of view for aurora work — you will need to stitch multiple frames or accept that you are only capturing part of the display. It is usable but not ideal. A 24mm or wider is significantly better for capturing the full arch or curtain structure of a major display.
When in Lapland is the aurora photography season?
The aurora season in Rovaniemi runs from late August through early April — roughly whenever nights are dark enough. The peak months for combining good darkness with reliable snow cover (for foreground) are November through March. February and March often offer the best combination of clear skies, long dark nights, and photogenic snow conditions.
Should I book a guided tour to photograph the aurora?
A guided tour gives you two things a solo attempt cannot guarantee: transport to where the sky is clearest on the specific night, and local expertise on locations. The Northern Lights Hunting Bus Tourguides monitor real-time aurora forecasts and cloud cover maps to position you in the best possible location. If you are shooting independently, you are relying on your own forecast reading and whatever dark-sky location you can reach from town.
Final Word From Rovaniemi
The northern lights are not guaranteed, but great aurora photos absolutely are something you can control your end of. Get the settings right, lock your focus before you need it, protect your gear from the cold, and look for a foreground that tells a story. The sky will do the rest.
If the thought of managing all of this in the dark while also trying to actually experience one of the world’s most extraordinary natural phenomena sounds overwhelming, that is exactly why guided aurora tours exist. The Small Group Northern Lights Hunting Tour pairs technical photography support with real Northern Lights hunting — small groups of 2–8, unlimited drive time to find clear skies, and professional DSLR photos included. Use the code HUNGRYTRAVELFAMILY5 for 5% off.
However you approach it, Rovaniemi is one of the most accessible places on earth to stand under an Arctic sky and try. We have done it more times than we can count, and it still stops us cold every time.
Browse our Rovaniemi picks
Tap a category to see every tour. Code HUNGRYTRAVELFAMILY5 gives you 5% off at checkout.
Code HUNGRYTRAVELFAMILY5 works on every StayLapland activity. We work with StayLapland and may earn a small commission — it does not change your price.
Get our best travel tips in your inbox
Monthly stories from Rovaniemi — Arctic tips, packing lists, and the places we keep coming back to.