How to Photograph the Northern Lights in Rovaniemi: Camera Settings From a Local
Aurora photography in Rovaniemi is more about preparation than expensive gear. We live here and we have shot the lights hundreds of times — here are the exact settings, gear list, and cold-weather tricks that actually work, plus when a photography-included tour beats DIY.
This guide is built from what we have learned living in Rovaniemi and writing about Lapland travel for years. Every detail below is from first-hand experience or from the live StayLapland product pages — never invented.
Northern lights photography in Rovaniemi is easier than you think — but only if you have a tripod, a camera that lets you shoot manual, and the right settings dialled in before the lights arrive. Below: exact ISO, shutter and aperture combinations we use, plus when to book a tour that includes professional photography like the Northern Lights Hunting Bus Tour5% off · HUNGRYTRAVELFAMILY5 so you can actually enjoy the show.
Why Aurora Photography in Rovaniemi Is Different
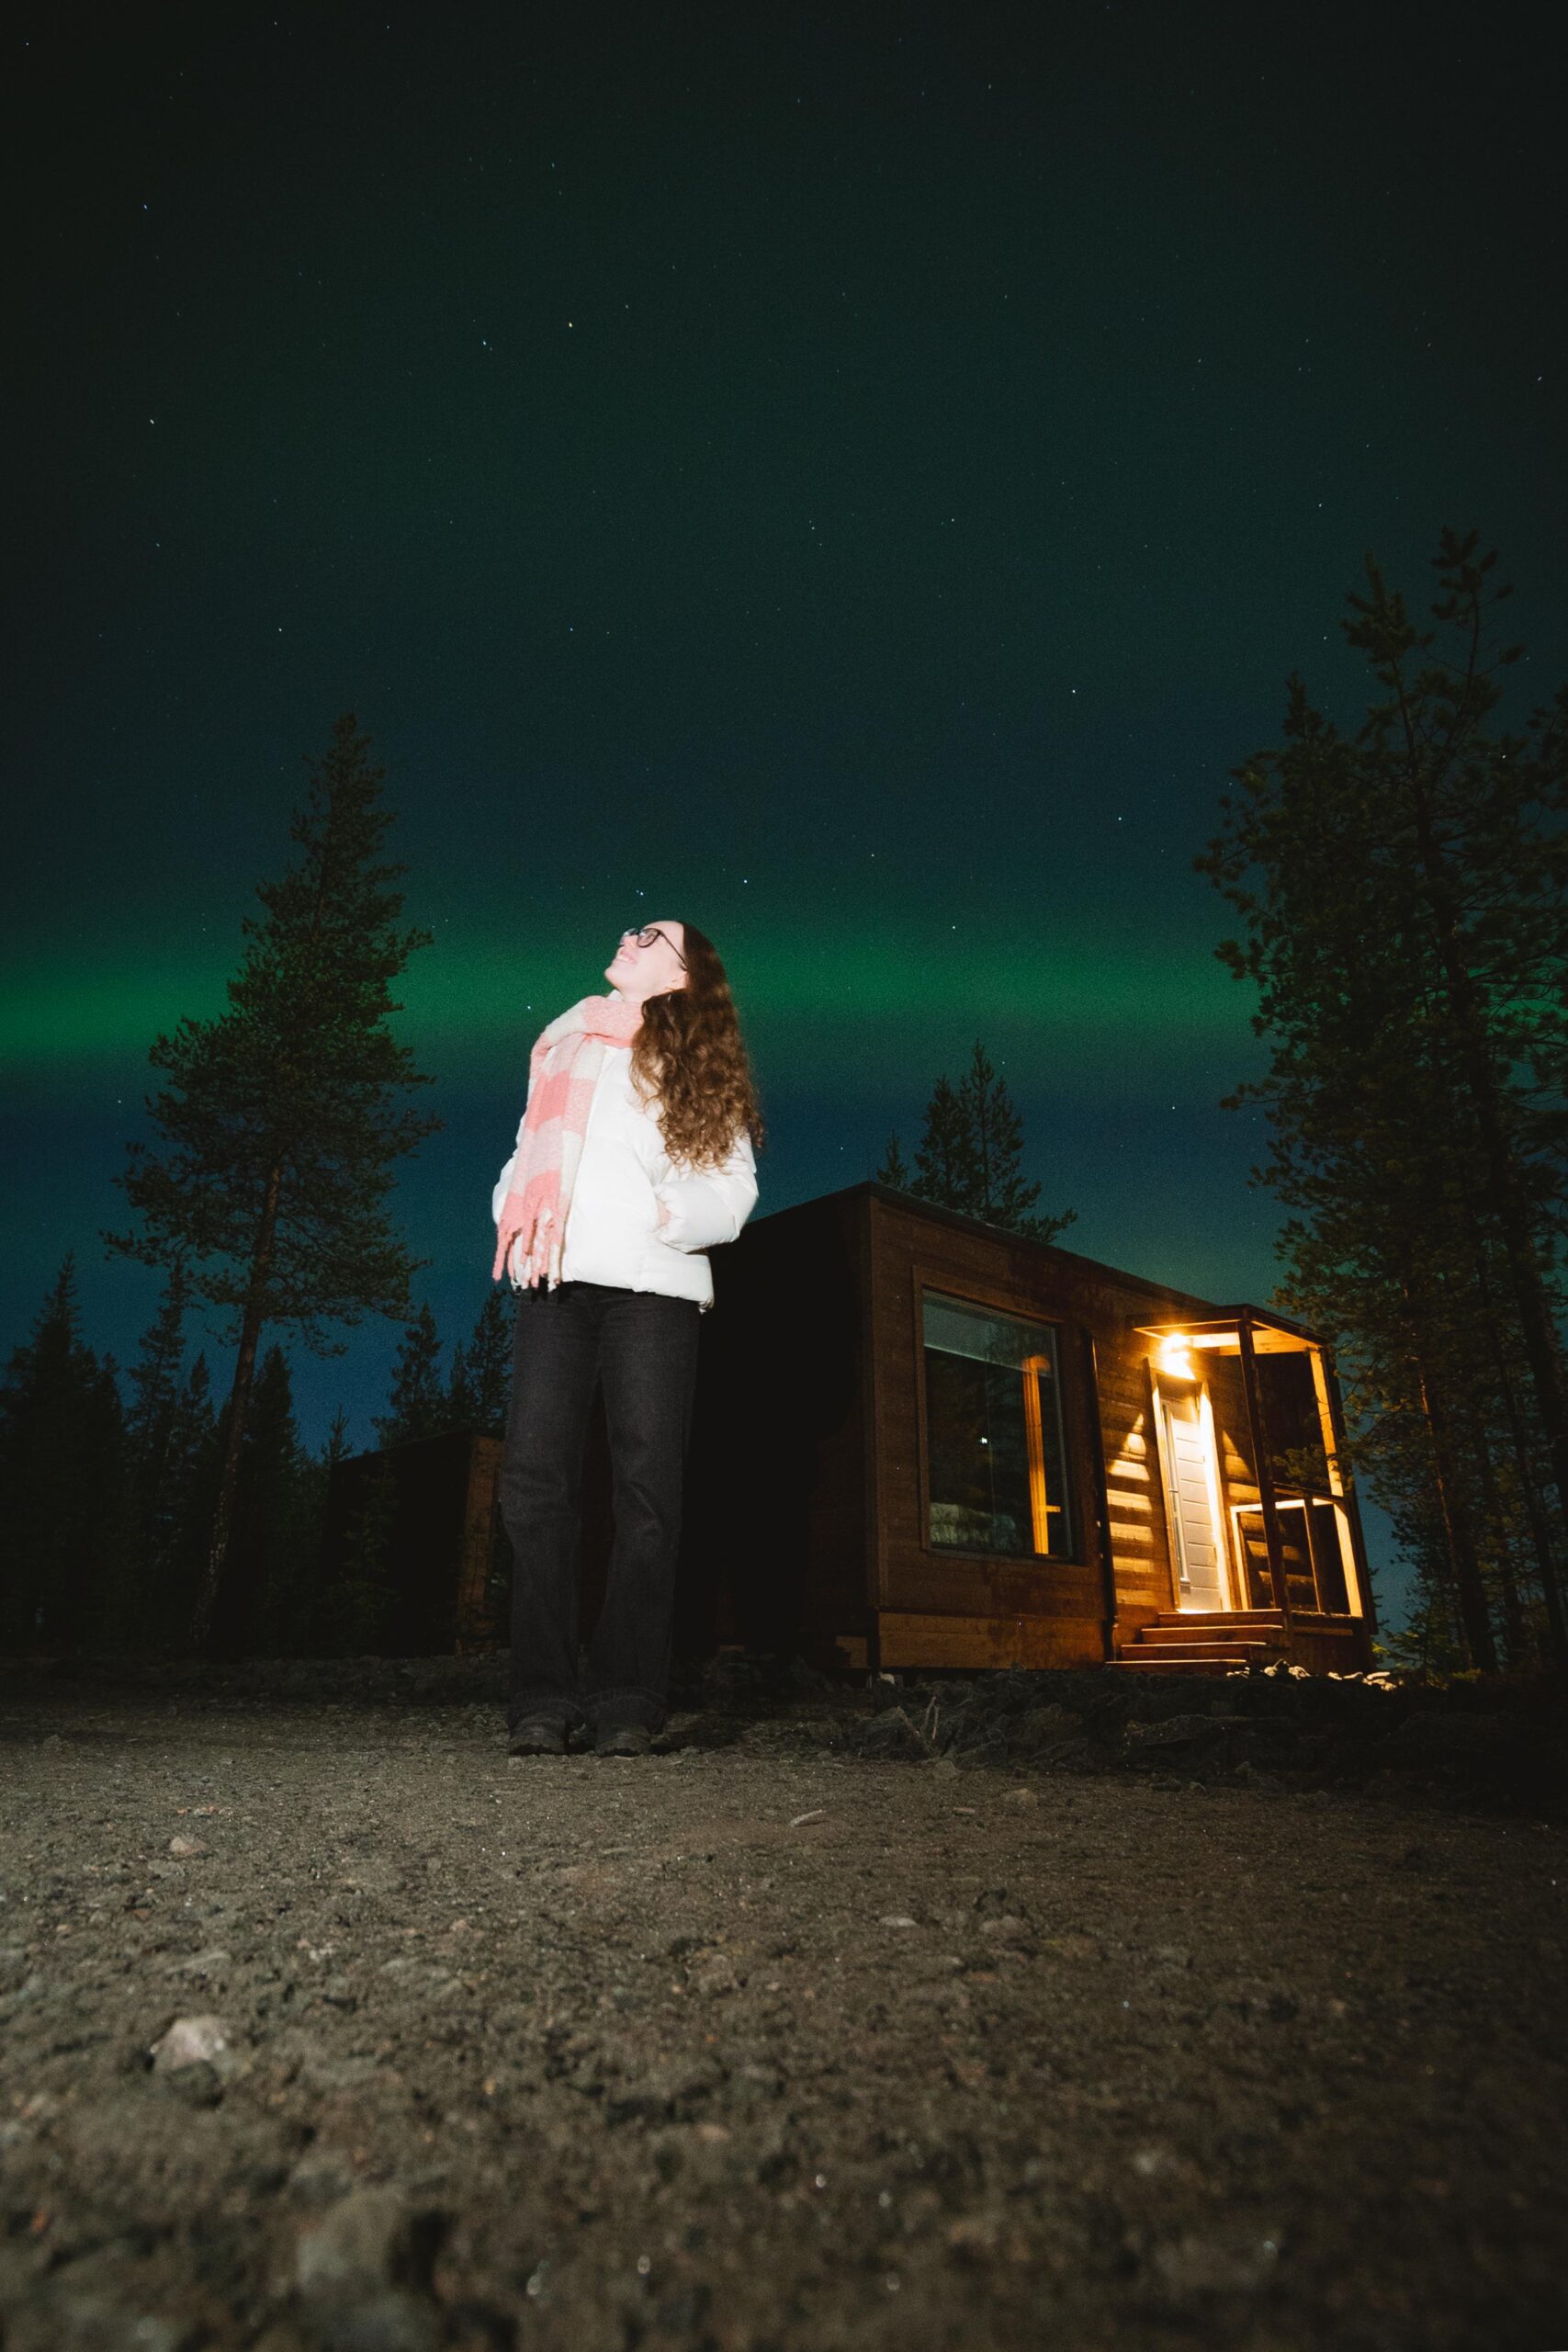
Rovaniemi sits at 66.5 degrees North, directly beneath the auroral oval. The lights move fast and often appear directly overhead — a wide lens and stable tripod matter more here than at lower latitudes.
Temperatures sit between -10C and -25C on most winter aurora nights, which kills battery life. The settings below have worked for us from balconies, lakeshores, and guided tours.
Minimum Viable Kit
You need: a camera with manual mode, a wide-angle lens at f/2.8 or wider, a tripod, and a remote release or 2-second timer.
For phones: recent iPhones and Pixels with Night Mode capture bright aurora reasonably. For faint aurora, a proper camera is dramatically better.
Exact Camera Settings
- Mode: Manual
- Aperture: as wide as your lens allows (f/2.8 or wider)
- Shutter: 4-10 seconds
- ISO: 1600-3200
- Focus: manual, infinity
- White balance: 3500-4000K
- Format: always raw
Cheat Sheet by Aurora Strength
- Dim, no movement: f/2.8, 15s, ISO 3200
- Medium, slow movement: f/2.8, 8s, ISO 1600
- Strong, dancing: f/2.8, 3s, ISO 1600
- With foreground: add a low-power flash or paint with a head torch
When a Tour Beats DIY
If aurora photography is a primary trip goal, consider a guided tour with professional photography included. Guides know which dark-sky spots are clear that night and have heated transport.
The Bus Tour from StayLapland includes professional DSLR photography delivered by email within a few days. Use code HUNGRYTRAVELFAMILY5 for 5% off.
Cold-Weather Camera Care
At -20C, batteries lose 50%+ capacity within an hour. Keep spares warm against your body.
When you go inside, put the camera in a sealed plastic bag for 30+ minutes before opening — otherwise condensation forms on the cold sensor.
Where to Shoot in Rovaniemi
The town centre is too lit. Drive 15-30 minutes out — the Norvajarvi lake, Ounaskoski riverbanks east of town, or forest roads off Highway 4 north of Sinetta. If you have no car, the Arktikum riverside walk is the best in-town fallback.
FAQ: Aurora Photography
Can I photograph aurora with my phone?
Yes for bright aurora with Night Mode on recent iPhones and Pixels. Faint aurora needs a proper camera with manual mode.
What lens is best?
Wide-angle at f/1.8 or f/2.0 (14mm, 20mm, 24mm). Or a 14-24mm / 16-35mm zoom at f/2.8.
Do I need filters?
No. Avoid polarising filters — they cost you 1-2 stops of light.
How cold is too cold?
Modern cameras work to -30C if you manage batteries. Below that LCDs stop responding.
Will a tour include photos of me?
Yes. The Bus Tour and Small Group Hunting Tour both include professional DSLR photos delivered by email.
Best month for aurora photography?
February and March balance dark nights, high activity, and warmer temperatures. September-October are also strong.
Final Word From the Arctic Circle
The first time you see real aurora overhead, you forget every setting we wrote. That is normal. Take five minutes to just watch. Then set f/2.8, 6 seconds, ISO 1600 and let the camera do its job while you keep watching.
Browse our Rovaniemi picks
Tap a category to see every tour. Code HUNGRYTRAVELFAMILY5 gives you 5% off at checkout.
Code HUNGRYTRAVELFAMILY5 works on every StayLapland activity. We work with StayLapland and may earn a small commission — it does not change your price.
Get our best travel tips in your inbox
Monthly stories from Rovaniemi — Arctic tips, packing lists, and the places we keep coming back to.